



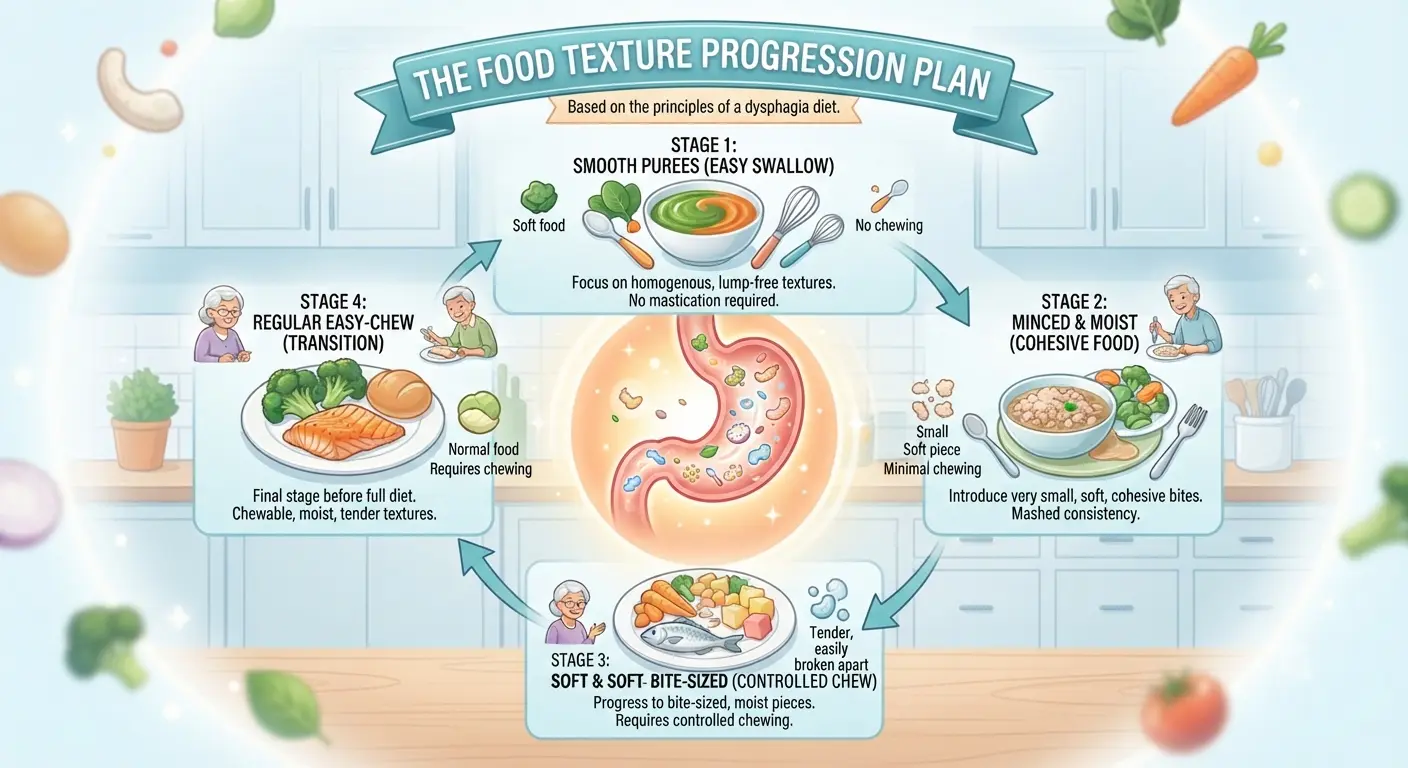
What Is a Food Texture Progression Plan?
A food texture progression plan is a step-by-step therapeutic approach that systematically advances a child from smooth purees to soft meltables and solid foods, building essential chewing muscles while desensitizing oral sensory reflexes.
💡 Feeding Therapy Tip: Never rush texture transitions. Introducing lumpy or firm foods before a child develops tongue lateralization can lead to gagging, fear of choking, and increased mealtime anxiety.
Steps to Implement a Food Texture Progression Plan
Children acquire chewing and swallowing mechanics through predictable developmental stages. Understanding each milestone helps caregivers introduce new textures at the right pace without overwhelming the child’s sensory system.
Summary: Food Texture Progression Stages
| Progression Stage | Food Texture Examples | Target Oral Skill | Parent Guidance |
|---|---|---|---|
| Stage 1: Smooth Purees | Smooth yogurt, applesauce, blended vegetables | Spoon clearing & direct swallowing | Use small, soft-tipped spoons without scraping the roof of the mouth. |
| Stage 2: Thick / Lumpy Purees | Mashed avocado, cottage cheese, oatmeal | Tongue lateralization & side-to-side clearing | Thicken purees gradually using infant cereal or mashed fruits. |
| Stage 3: Soft Meltables | Puff cereals, meltable teething wafers | Gashing, biting, & saliva breakdown | Place meltable pieces on the side molars to encourage chewing. |
| Stage 4: Soft Chopped Table Foods | Scrambled eggs, cooked pasta, soft bananas | Rotary chewing motion | Cut foods into small bite-sized cubes for safe self-feeding. |
Clinical Guidelines & Sensory Integration
According to pediatric nutrition guidelines from the American Academy of Pediatrics (AAP), introducing varied food textures before 10 months reduces the long-term risk of severe picky eating and feeding aversion.
Children experiencing heightened oral sensitivity often benefit from pre-feeding sensory exercises. You can learn more in our detailed guides on Sensory Integration Techniques and Environmental Factors in Speech Development.
Signs a Child Is Ready to Move to the Next Texture
| Sign | Meaning |
|---|---|
| Chews food easily | Jaw strength improving |
| No gagging | Sensory tolerance improving |
| Swallows safely | Good oral control |
| Moves food side-to-side | Tongue lateralization developed |
Tips for Food Texture Progression
✔ Introduce one new texture at a time.
✔ Offer small bite sizes.
✔ Always supervise meals.
✔ Encourage chewing on both sides of the mouth.
✔ Be patient—progress may take weeks.
Warning Signs During Texture Progression
Stop and consult a therapist if the child:
- gags frequently
- chokes during meals
- refuses all textured foods
- holds food in mouth for long time
- vomits when trying new textures
Goal of Texture Progression
The main goal is to help the child:
• chew efficiently
• swallow safely
• accept different food textures
• develop normal eating skills
These abilities also support speech and oral-motor development.
Frequently Asked Questions
What is the ideal age to start a food texture progression plan?
A food texture progression plan typically starts around 6 months with smooth purees and advances gradually toward soft table foods by 18 to 24 months, depending on the child’s readiness.
How do I know if my child is ready for thicker food textures?
Your child is ready when they handle smooth purees without coughing or pushing food out with their tongue, demonstrate side-to-side tongue movement, and attempt to chew soft meltables.
What should I do if my child gags frequently during texture transition?
Gagging is a normal safety mechanism. Stay calm, reduce the texture thickness slightly, offer soft meltables, and consult a speech-language pathologist or pediatric feeding therapist if persistent gagging occurs.
How does sensory sensitivity affect food texture acceptance?
Children with oral sensory processing differences may refuse lumpy or mixed textures. Gradual, pressure-free exposure and non-food oral stimulation help build tolerance over time.